

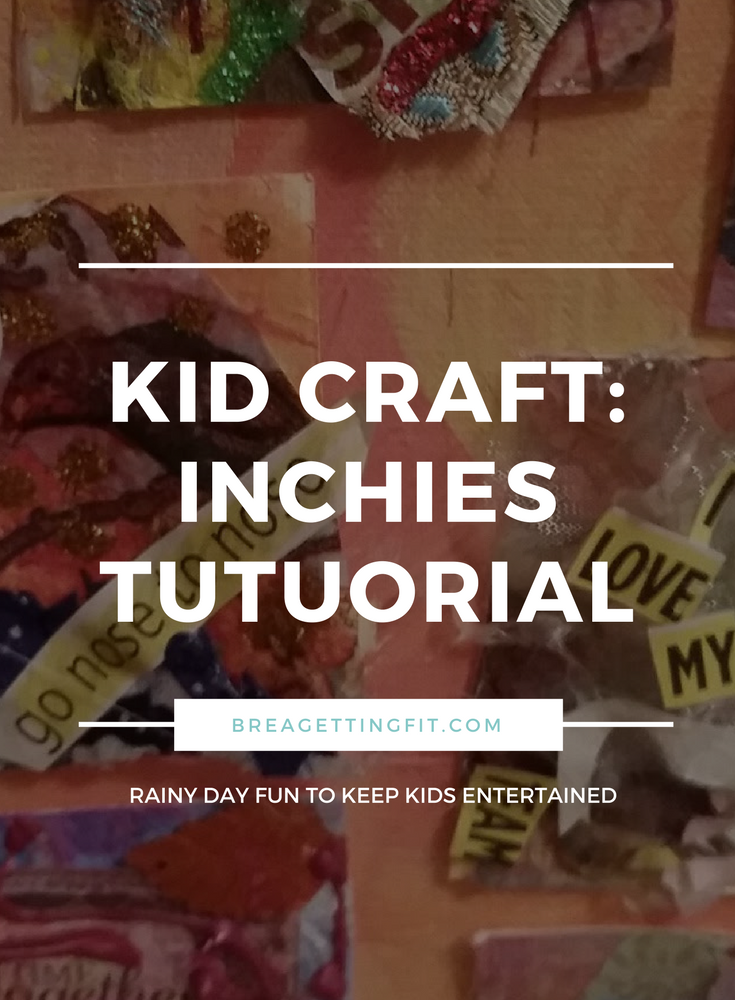
I’d love to share a fun project with you – Inchies!
Inchies have one basic rule: it’s whatever art can fit onto a 1×1 inch square. After that, the possibilities are endless!
The reason I love creating inches is that it’s a project you can keep on adding to for fun whenever inspiration strikes.
Inchies make a great rainy day art project if you need a new idea!
You can create one Inchie to wear as a pin or to put on a greeting card. You can create 20 Inchies at once to display on a big canvas. It’s up to you!
The materials to make Inchies are also free of limitations. In this project, I used:
- Canvas paper
- Acrylic paints
- Felt
- Puffy Paints
- Fabric Scraps
- Little embellishments like sequins, buttons, and stickers
- Magazine
- Glue Gun (or any glue)
- Scissors
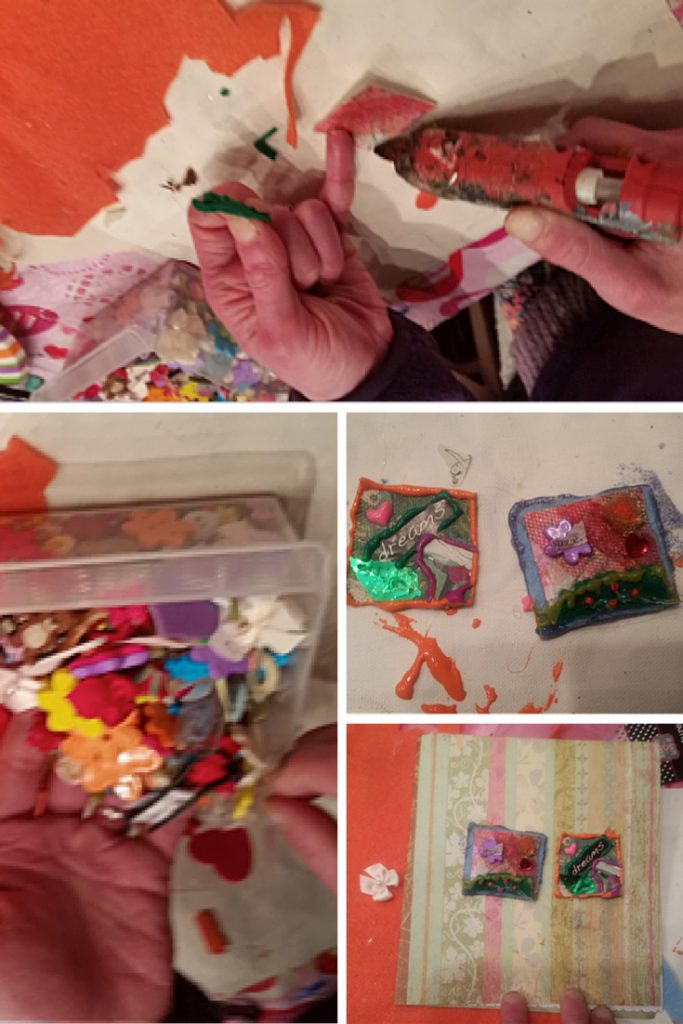
First I took a sheet of canvas paper and painted all over it. Any abstract design will work.
This will be what you will cut inch by inch squares out of. You can also get a little crazy with the background and just make a huge collage. If you’re working with kids, you can use washable paints or liquid watercolors so that you have less mess.

Then, mark every inch of the canvas, and proceed to cut as many one inch by one inch squares as you can.
From Brea: If you’re making inches with your kids, you can make the squares bigger. I found that with Smalls 2×2 squares and 5×5 squares were big hits. As a bonus, we were able to talk about measurements, geometry, and expressionism while he worked on his inchies!
Once you have your inch by inch squares, feel free to make each one a little collage in itself:
- I centered my Inchie around a word that struck me in a magazine – “space”
- Then, I used felt, fabric, and embellishments to create a scene around my word:
- Glue-gunned everything into place…(any glue will work.)
- And used puff-paint to outline everything.
One Inchie done!
For the next Inchie, I used the background that I simply painted.
And did whatever I felt inspired to do– this time it was a tiny little picture from a magazine as well.
So now, what to do with two Inchies?
I decided they might look nice on a greeting card, so I took some beautiful paper and folded it, and glued them onto the front cover.
Add a greeting, and you’re good to go!
You’ll find that creating Inchies is addicting…
Displaying them is the fun part…

So let your imagination run wild and enjoy!
 Amy Oestreicher is a performer and mixed media artist. She writes about art, food and music. At age 18 a blood clot caused her to fall into a coma, once she came to just months later, she knew that she needed to pursue her artistic dreams and spread the message of hope and strength through her art and autobiographical one-woman show. Find out more at amyoes.com! Be sure to visit her awesome shop on Etsy to see more of her art.
What a fun and creative outlet! I so want to try this!
This looks so fun! Thanks for the ideas!
It is a super fun project!
Thanks for sharing at the Pinterest Love Weekend Pin It Party 🙂
Thanks for hosting!
This looks like an awesome rainy day craft! Thanks for joining the Link-It To Me Link Party, I hope you will join us again this week 🙂 Pinning!
This looks like such a fun and creative project for an otherwise boring day. Thanks for sharing at Inspiration Thursday! Have a great week!
[…] JULY 9, 2015 BREA 7 COMMENTS […]
Pinned this link to my “I Want to Try This!” board.
Can’t wait to try it……..