I have had so many of you message and email me asking how to start a blog, and instead of continuing to reply with a long drawn-out email, I’ve decided to just post everything here.
Much easier for everyone, right? Right.
This tutorial utilized WordPress, where this blog and my other sites are hosted. I’ve personally used this same system for all of my sites, and have found that it’s the easiest way. So here you go: how to create a blog (or website).

1. Hosting
Hosting refers to your server-this is the space that your blog takes up on the web. Remember that really cool casino server room in Ocean’s 11? Or the room from WarGames? Trust me when I say you need to find quality hosting. Okay?
I use BlueHost, because they’re very, very affordable and offer amazing support. And before you leave me comments telling me that you can get free hosting-I know you can. BUT, you get what you pay for, and there are major limitations to free hosting. What if your blog suddenly poofs? Or the host decides they don’t want to be a host anymore…see where I’m going with this?
If you’re serious about building a business (or a blog), then do yourself a favor and self-host.
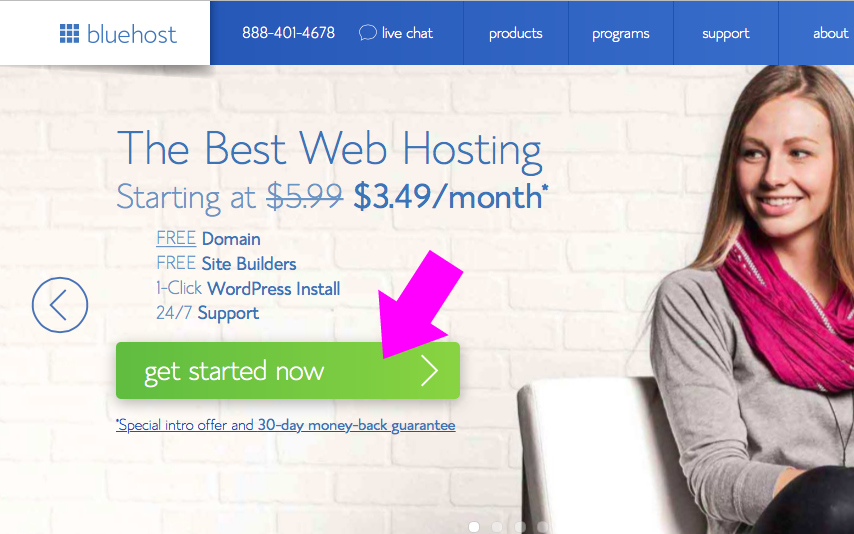
Click on the big green “get started now” button:
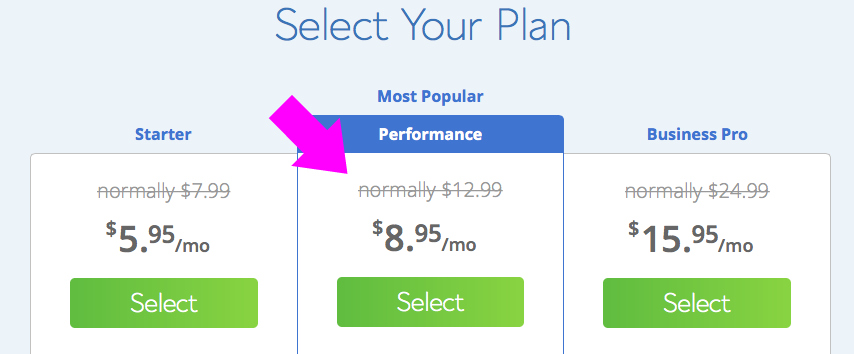
Next, you’ll need to choose a hosting plan-BlueHost has three options:
- Starter
- Performance
- Business Pro
Personally, I use the “Performance” plan on all of my sites because it comes with far more “freebies” and it keeps me from having to upgrade later on. Another perk of BlueHost is that every plan comes with a free domain.
2. Domain Name
Your domain name is what’s between the “www” and “.com”. I love that you get a free domain when you sign up for hosting. Now, if you’ve already purchased a domain through a different service, that’s okay. You can enter it in the box and they’ll help you migrate. Seriously. It’s so easy.

My domain is breagettingfit.com. Now honestly, if I had it to do all over again, I probably would have hosted my blog at breannagunn.com (which I also own), but oh well. You, however, can learn from my mistakes, right?
When you choose your domain:
- Make it easy to pronounce (fun fact: “Brea” is actually pronounced “BrEE”)
- Niche top level domains are really popular right now, but they will buttonhole your site-so if you’re not married to .fitness or .chef, go with a .com
- The same thing goes for life-stage words or super-specific terms…what if you want to expand?
- Avoid cutesy things like numbers, hyphens, or really, really long phrases
- If you can’t think of a creative, catchy phrase, go with your name
- Consider using keywords (for example, the “fit” in my domain name is a keyword)
- Make sure your domain name is available on social media sites using knowem
3. Create Account
Once you’ve settled on an account name, it’s time to set up your account. This part is fairly straightforward if you’ve ever shopped online. Simply enter your name, address, billing, etc. The one thing that’s different is choosing your package.
But wait-didn’t I just do this?
Yes, yes you did. But now you need to select the length of time that you want hosting for. Know that they will bill you for a full year at a time, but at just $5-8 a month, it really doesn’t amount to much. Most ‘newbies’ will select a year of hosting with auto renew. This works out well in case blogging just isn’t your thing.
Now that you’ve selected your year (or more-who am I to judge!), you are almost done. You’ll notice there are lots of add ons, and the only one that I recommend is the Privacy Protection (or WhoIs protection)-this will protect your personal information. It’s worth it, trust me.
4. Check Out
You’ll be asked (again) if you want any special upgrades. Just say no. You don’t need them. You’ve got me! Once you’ve checked out, you’ll get an email with a confirmation and your cpanel information. I know it’s Greek, but you will need this, so print it out or write it down.
5. Install WordPress
First, you’re going to need to log in.
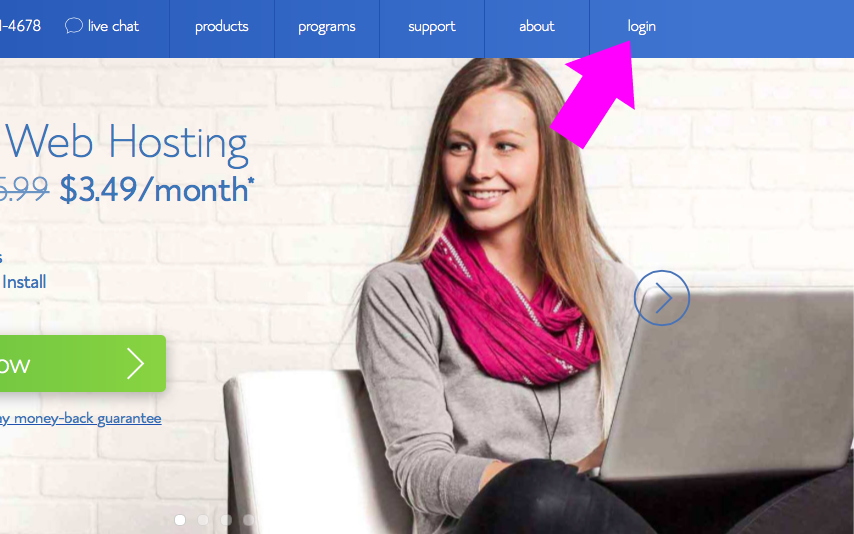
You can also use the link in your email if you don’t want to go back to the website. All you need is your email and password. Simple.
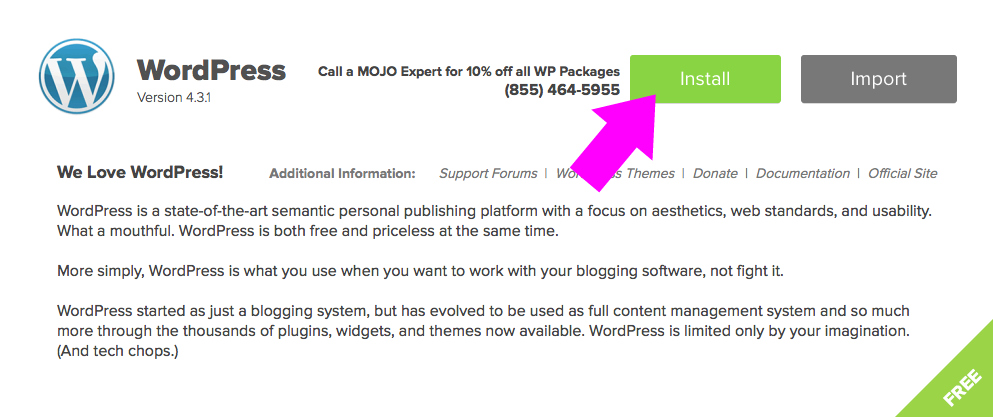
Once you’re logged in, you’ll see your “control panel” (I’m sure there’s an official name for it, but that’s what I call it). Scroll down to “website builders” and click on “WordPress.”

A new window should pop up. Simply click on “install.”
 Once you start the install, you’ll be asked where you want to install WordPress. Simply select your domain from the drop down and click “check domain.” Next, you’ll need to edit your advanced options. There should be a little box you can check. Once you’re there, enter your site name, username, etc.
A Word About Log In Credentials…
WordPress needs to know who you are-this will also allow you to log in outside of BlueHost. Please, please, please, for the love, do not use your domain or admin as your username. Get creative. You want something you can remember, but something others will not easily guess.
Once you’ve got that square, save your info into LastPass or write it down. Next, you’ll need to enter your email address (use one that you check regularly since any notifications will be sent here), and agree to the terms. Then click “install.”
Congrats! You’ve got a blog! Now you can to write your first post!